Monday, May 3, 2010

Do you know where your Chocolate comes from?

Do you know (or even care) where your favourite Chocolate originates from? 

Chocolate is such a luxury in most countries today, and fast becoming an essential ingredient in cooking, not to mention a highly addictive 'comfort-treat'.
But do we know how our chocolate is made or where it is grown?
And, have you noticed how expensive it is becoming for a 'humble' bar of chocolate these days or even worse - how the chocolate bars are shrinking????? both in number of squares and in thickness!

....well, let me enlighten you to something even more disgusting and even criminal in the story of our delectable and addictive favourite little treat........the bitter truth!

You probably are aware that chocolate comes from Cocoa Beans, and maybe even know that Cocoa Beans come from South America.......right! But did you know that more recently (over the past 100 years) Cocoa beans have become a major crop for a handful of African countries.........and unfortunately, a good percentage of the Cocoa bean plantations not only use child labour for harvesting the crops, but slave child labour!!!!!!!!?!
......that is: kids are kidnapped from neighbouring countries (sold for a pittance) and put to hard labour on the Cocoa bean plantations! That is: 'work for no pay', no schooling, no contact with families, no freedom..........it is sickening and very, very sad!!!!! Think about that next time you are having a 'melting moment'!!!
Makes me want to give up chocolate for good! (...like my husband did last year when he first became aware of the kids' plight)

....but the 'good' news is that, the chocolate companies are slowly coming on board to clean up the situation and support 'fair trade' farmers and plantations (slow process - Cadbury just released in April, 2010 their first 'fair trade' chocolate bar...yes ONE chocolate bar.....that uses beans from a 'fair trade' approved plantation)

'In the United Kingdom 10 chocolate bars from different companies now have a Fairtrade logo. For chocolate lovers that logo is supposed to guarantee children have not been employed illegally in the making of the chocolate.'
and....
There are heroes out there like Willi the chocolate maker from the UK who is doing his own thing in South America buying his own plantation, growing his own Cocoa Beans and making and producing quality chocolate from his Cocoa beans!

(read more about Willie's chocolate factory here: http://www.williescacao.com/)

Read more on the Link to Four Corners show on ABC: "Chocolate: The Bitter Truth"

"Chocolate: The Bitter Truth" goes to air on Monday 3rd May at 8.30pm on ABC1.  
It is replayed on 4th May at 11.35pm. 
It will also be available online.

More links about Chocolate and the bitter truth of child labour here:

Friday, April 23, 2010

Shortbread Time!!!


My favourite SIMPLE Shortbread recipe:

150g Butter
90g Castor Sugar
150g Plain flour
90g S/R flour
50g Almond meal (optional)

mix butter and sugar together (not cream)
add sifted flours mixing as you go
add almond meal (if you are using it!)

let it rest for a bit...

then mix together with your hands, squeezing it together to make it form like a dough - even if it seems too crumbly keep working it until it comes together (if you get impatient, then add a little milk to bind it together)

knead/roll out on a floured board or bench
cut mixture into two and
roll into log shapes (sprinkling flour as you go, if it is too sticky)

then either use straight away or I like to make it the night before, wrap the logs in plastic wrap and refrigerate overnite

you can cut them into 1cm shapes/slices - place on a greased/floured baking tray, then press each one with a fork or prick them with a fork - whatever you prefer!
and then cook in a slow oven 150-160C for 15 - 25 mins (i.e. depending on how hot your oven is) just until they start to change colour - makes up at least 24!


SHORTBREAD YUMMY!!!!

Thursday, December 24, 2009

Classic Chocolate Brownies


 Photo Quentin Bacon


Prep and Cook Time: about 45 minutes. Notes: These classic chocolate brownies can be stored airtight for up to 2 days.
Yield: Makes 9 or 16 brownies

Ingredients

  • 1/2  cup  (1/4 lb.) butter
  • 3  ounces  unsweetened chocolate, chopped
  • 1 1/3  cups  sugar
  • 2  large eggs
  • 1  teaspoon  vanilla
  • 1/2  cup  all-purpose flour
  • 1/2  cup  chopped walnuts
  • Chocolate glaze (optional; recipe follows)

Preparation

1. In a 2- to 3-quart pan over low heat, frequently stir butter and chocolate until melted and smooth. Remove from heat and stir in sugar, eggs, vanilla, flour, and walnuts until well blended.
2. Spread batter evenly in a buttered and floured 8-inch square baking pan.
3. Bake in a 350° oven until edges feel firm to touch and begin to turn a shade darker, 25 to 30 minutes.
4. Run a knife between pan rim and brownie. If desired, spread with chocolate glaze. Let cool in pan on a rack, about 1 hour. Cut into 9 or 16 squares.
Chocolate glaze. In a 1- to 2-quart pan over low heat, frequently stir 1/3 cup whipping cream and 1 cup (6 oz.) semisweet chocolate chips until melted and smooth. Stir in 1 teaspoon vanilla. Use warm.
Note: Nutritional analysis is per small brownie.

Nutritional Information

Calories: 195 (55% from fat)
Protein: 2.4g
Fat: 12g (sat 5.8)
Carbohydrate: 22g
Fiber: 1.1g
Sodium: 70mg
Cholesterol: 43mg
Recipe from: http://www.myrecipes.com/recipes/chocolate
Sunset, NOVEMBER 2003

Friday, December 18, 2009

Nigella's Spicy Christmas Cookies


 Photo by: Petrina Tinslay

I found this lovely recipe on http://www.bravotv.com/foodies/recipes/christmas-decorations

Ingredients

for the cookies:
  • 2 cups all-purpose flour
  • pinch of salt
  • 1 teaspoon baking powder
  • 1 teaspoon mixed ground spice
  • 1–2 teaspoons freshly ground pepper (optional)
  • scant ½ cup unsalted butter
  • scant ½ cup dark brown sugar
  • 2 large eggs beaten with 4 tablespoons honey
for the icing and trimmings:
  • 2 cups confectioners’ sugar, (icing sugar) sifted
  • 3 tablespoons boiling water
  • gold or silver balls or sprinkles

Directions

Combine the flour, salt, baking powder, mixed spice, and pepper in the processor. With the motor on, add the butter and sugar, then, slowly, the eggs and honey, though don’t use all of this liquid if the pastry has come together before it’s used up. Form two discs and put one, covered in plastic wrap or in a freezer bag, into the refrigerator while you get started on the other. Preheat oven to 325°F.
Dust a surface with flour, roll out the disc, also floured, to about 15 inches and cut out your Christmas decorations. Re-roll and cut out some more, setting aside the residue from this first disc, well covered, while you get on with rolling out the second. When you’ve got both sets of leftover clumps of dough, roll out and cut out again and keep doing so till all the dough’s used up. Now take a small piping tip and use the pointy end to cut out a hole just below the top of each cookie (through which ribbon can later be threaded to hang them).
Arrange on the baking sheets and cook for about 20 minutes: it’s hard to see when they’re cooked, but you can feel; if the underside is no longer doughy, they’re ready.
Transfer them to cool on a wire rack. Make up ordinary glace icing by mixing approximately 3 tablespoons of boiling water with the sifted confectioners’ sugar and stir till you’ve got a thin, glossy glaze. Ice the cold decorations using a teaspoon (the tip for dripping, the back for smoothing) and scatter sparkles or sprinkles as you like.

Notes

set of Christmas cutters
2 baking sheets, lined with parchment or wax paper or nonstick
florists’ ribbon for hanging
© 2001 Nigella Lawson

Thursday, December 17, 2009

Mum's Pikelets

...this one's for you Katy!

Mum's Pikelets

 Aussie Ingredients:

1 cup (150g)Self-Raising Flour (Sifted)
1 tablespoon caster sugar
Pinch of Salt
1 egg
3/4 cup (185ml) milk
1 dessertspoon of melted Butter
1/2 teaspoon of Bicarbonate of Soda
Approx. 2 tablespoons of boiled water
  • Mix the sifted S/R flour, with a pinch of salt and sugar together.
  • To the well beaten egg, stir in the milk
  • Blend the water (still warm) and the melted butter 
  • and then mix in the bicarbonate of soda.
  • Combine the butter & water mixture with the egg/milk mixture
  • Mix the liquids into the dry ingredients (the flour/sugar) and blend until smooth.
  • Heat your greased pan, pour spoonfuls of batter into pan and wait until they start to bubble before you turn!
  • Watch the heat and 'shake' the pan a little to prevent burning
Serve with jam and cream and voila!
For variety add sultanas to the dry mix - yum!

Wednesday, December 16, 2009

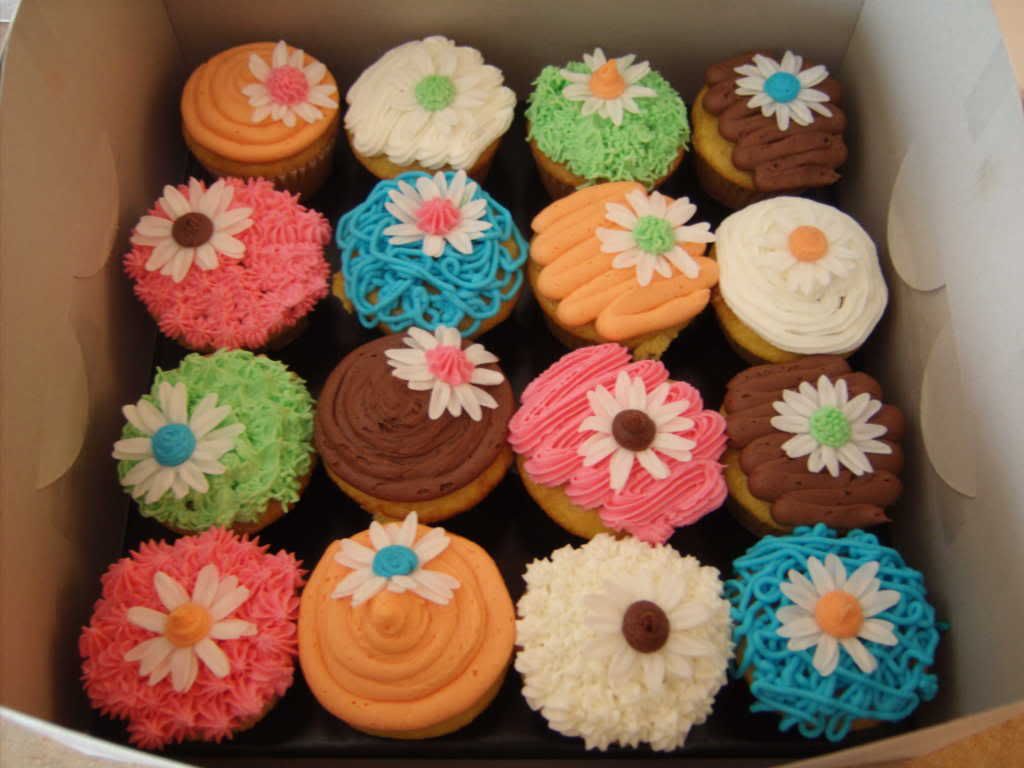
Simply Sweet - Incredible Cakes!!!!!!

Cupcakes.... Pictures, Images and Photos
courtesy photobucket.com

courtesy photobucket.com
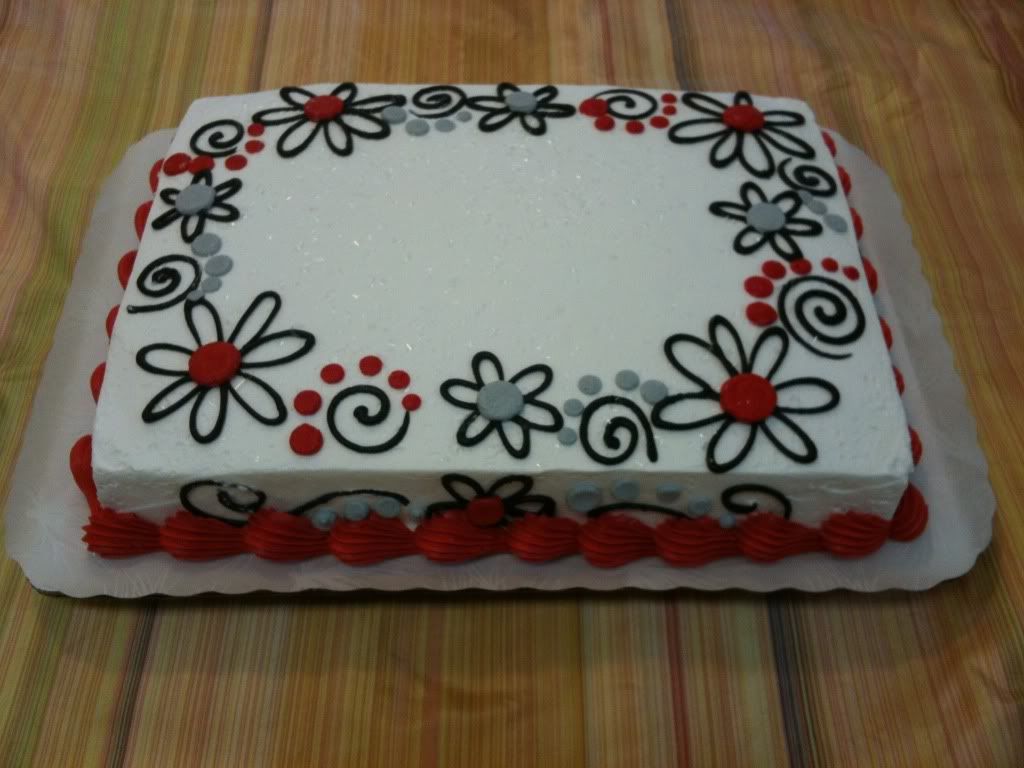
cakes Pictures, Images and Photoscourtesy photobucket.com

 Spiced Peach Trifle Pictures, Images and Photoscourtesy photobucket.com

Chocolate Chestnut Roulade!!!

And if you thought you couldn't get enough chocolate....think again!!!

This Chocolate chestnut roulade is a rich chocolatey sponge cake rolled up with double cream and chestnut purée. Decorated with chocolate holly leaves, this makes an impressive centrepiece to your Christmas table. Rolling the sponge is fun - and imperfections are covered with icing sugar - so do try this at home.
Serves 8
Takes 1 hour to prepare, plus 1-2 hours cooling


Nutritional Information
Per serving:
523kcals
32.3g fat (16.6g saturated)
9.7g protein
52.2g carbs
50.1g sugar
0.3g salt

Ingredients

  • Butter, for greasing
  • 175g plain chocolate (no more than 50% cocoa solids), broken up
  • 6 large eggs, separated
  • 175g golden caster sugar, plus extra for dusting
  • For the filling
  • 200ml double cream
  • 4 tbsp sweetened chestnut purée
  • For the decoration
  • Icing sugar, to dust
  • 100g plain chocolate
  • 10 fresh holly leaves
  • 6 chocolate-coated almonds


Method: How to make chocolate chestnut roulade

1. Preheat the oven to 180°C/fan160°C/gas 4.
Grease and line the base and sides of a Swiss roll tin (about 22 x 32cm) with baking paper.
2. Melt the chocolate in a bowl resting over a pan of simmering water – make sure the bowl doesn't touch the water. Stir until smooth, then take off the heat. (Alternatively, melt in a microwave on medium power for 2-3 minutes.)
3. Put the egg yolks and sugar into a large bowl. Using an electric hand whisk, whisk for about 3-4 minutes, until pale, thick and creamy. Whisk in the melted chocolate. In a separate bowl, whisk the egg whites to soft peaks. Stir a little into the chocolate mixture to loosen, then gently fold in the remaining egg whites using a large metal spoon, until just combined. Pour into the lined tin and smooth out to the edges to fill. Bake for 20-25 minutes, until spongy to the touch.
4. Place a sheet of baking paper on the work surface and dust thickly with caster sugar. Cool the roulade for 10 minutes, then turn out onto the paper. Peel off the baking paper backing from the roulade, then cover with a clean sheet of baking paper and a damp tea towel. Leave for 1-2 hours to cool.
5. Meanwhile, make the filling. Whip the cream until it just holds its shape. Fold in the chestnut purée and whisk again until thick. Cut the edges off the roulade, spread with the chestnut cream, then roll up the sponge tightly, using the paper to help you. Don't worry if the crust sticks to the paper a little – the icing sugar will cover this.
6. Transfer to a flat serving plate. Dust thickly with sieved icing sugar.
7. To make the chocolate holly leaves, melt 100g plain chocolate in a bowl resting over a pan of simmering water – make sure the bowl doesn't touch the water. Stir until smooth, then take off the heat. Using a small paint brush, paint the chocolate over the dark green, shiny side of 10 small holly leaves. Leave to set, then coat again. Chill until firm. Carefully prise the holly leaves away from the chocolate, discard the leaves and place the chocolate shapes and some chocolate-coated almonds on top of the roulade.
© delicious. magazine
Related Posts with Thumbnails